Baremetal Pico: Venturing Beyond the Bootloader
You can pick up the illustrious raspberry pi pico for $4.00 USD and, sure, they provide a bunch of sweet libraries for using it. But we’re not going to be using any of them. In this article I’ll demonstrate how to write your own second-stage bootloader in pure C and execute a much larger program — all without using a single external library!
All the source code in this article can be found on my github here: https://github.com/SharpCoder/baremetal-pico-guide
To generate the final binary file, I’ve made a rust crate called uf2-util. As such, you will need rust to build it. To install rust, you can follow these instructions: https://www.rust-lang.org/tools/install
After installation, you can get my utility directly through cargo and it will download, build, and place the program somewhere in PATH automatically.
cargo install uf2-util
Compiling our code is going to require a GNU toolchain. On Ubuntu, this would look something like:
sudo apt install gcc-arm-none-eabi binutils-arm-none-eabi
On other systems, you can download directly from arm: https://developer.arm.com/downloads/-/arm-gnu-toolchain-downloads
The Bootup Process
Our final binary must be partitioned according to The UF2 File Format Specification. This format takes a series of byte data (for example, a .ELF binary file) and chunks it into blocks. Each block has some magic values and parameters and a subset of your data. You can even specify where the data should be loaded (like flash or sram). That’s all there is to the uf2 format. It’s pretty versatile.
The RP2040 specifically uses a multi-stage bootrom. The first stage is burned into the silicon and it’s job is to configure the system initially then find the second stage bootloader (which is what we’re going to be writing). Assuming you target flash memory when generating the uf2 file, the first 252 bytes of your binary are copied into SRAM Bank 5 and then executed. The only job of these 252 bytes is to load your real program.
To load your real program, you have a few options. You can activate XIP (execute-in-place) and then run your program directly from flash memory. Which is insanely cool, but it also takes a runtime performance hit because you’re accessing your program through a serial bus instead of directly in memory. Alternatively, you can copy your program somewhere else and then jump directly to it. We’ll be doing the latter. Bootloader Code
As mentioned earlier, your bootloader is responsible for loading your real program. To do this, you must access your program which lives in flash (flash starts at 0x1000_0000 and our program data will be 256 bytes beyond that. So we need to copy everything from 0x1000_0100 onwards) but unfortunately, the cpu bootrom disables accessing it! We need to jump through a few hoops to re-establish communication with the flash data bank.
Afterwards we can shadow a copy of our real program in RAM and then execute it. Here’s the code which does all this. This code will copy 4096 bytes of program from XIP to SRAM.
It’s worth mentioning: this strategy gets really slow for sufficiently large programs. Copying from XIP to SRAM is not cheap. Bear that in mind if you plan to write a huge application.
#define XIP_CTRL_BASE   0x14000000
#define XIP_SSI_BASE    0x18000000

typedef char uint8_t;
typedef unsigned int uint32_t;

void put32(uint32_t addr, uint32_t val);
uint32_t read32(uint32_t addr);

#define CTRL0_XIP (31 << 16) | (3 << 8)
#define SPI_CTRL0_XIP (0x3 << 24) | (2 << 8) | (6 << 2)


void boot() {
    // Wait for IOBank0 to reset
    put32(0x4000c000 + 0x3000, 0x1 << 5);
    while ((read32(0x4000c000 + 0x8) & (0x1 << 5)) == 0){};

    put32(XIP_CTRL_BASE, 0x0); // Disable XIP Cache
    put32(XIP_SSI_BASE + 0x08, 0x0); // Disable SSI
    put32(XIP_SSI_BASE + 0x14, 0x4); // Set BAUDR
    put32(XIP_SSI_BASE + 0x00, CTRL0_XIP); // Set CTRL0
    put32(XIP_SSI_BASE + 0xF4, SPI_CTRL0_XIP); // Set SPI CTRL0
    put32(XIP_SSI_BASE + 0x08, 0x1); // Enable SSI

    // Copy program to sram
    uint8_t* src = (uint8_t*)0x10000100; // 256b offset (skip the bootloader)
    uint8_t* dst = (uint8_t*)0x20000000; // SRAM

    // Shadow copy into sram
    for (int i = 0; i < 0xFFF; i++) {
        *dst++ = *src++;
    }

    // Jump to the shadowlands
    void* notmain = (void*)0x20000000;
    goto *notmain;

}
Let’s not forget the assembly functions and main entrypoint. We need this function to be the first thing that gets loaded into SRAM because it sets up the stack pointer and then jumps into our c code.
entrypoint:
    ldr r0,=0x20040000
    mov sp,r0
    bl boot
    b .

.global put32
put32:
    str r1,[r0]
    bx lr

.global read32
read32:
    ldr r0,[r0]
    bx lr
Blinky
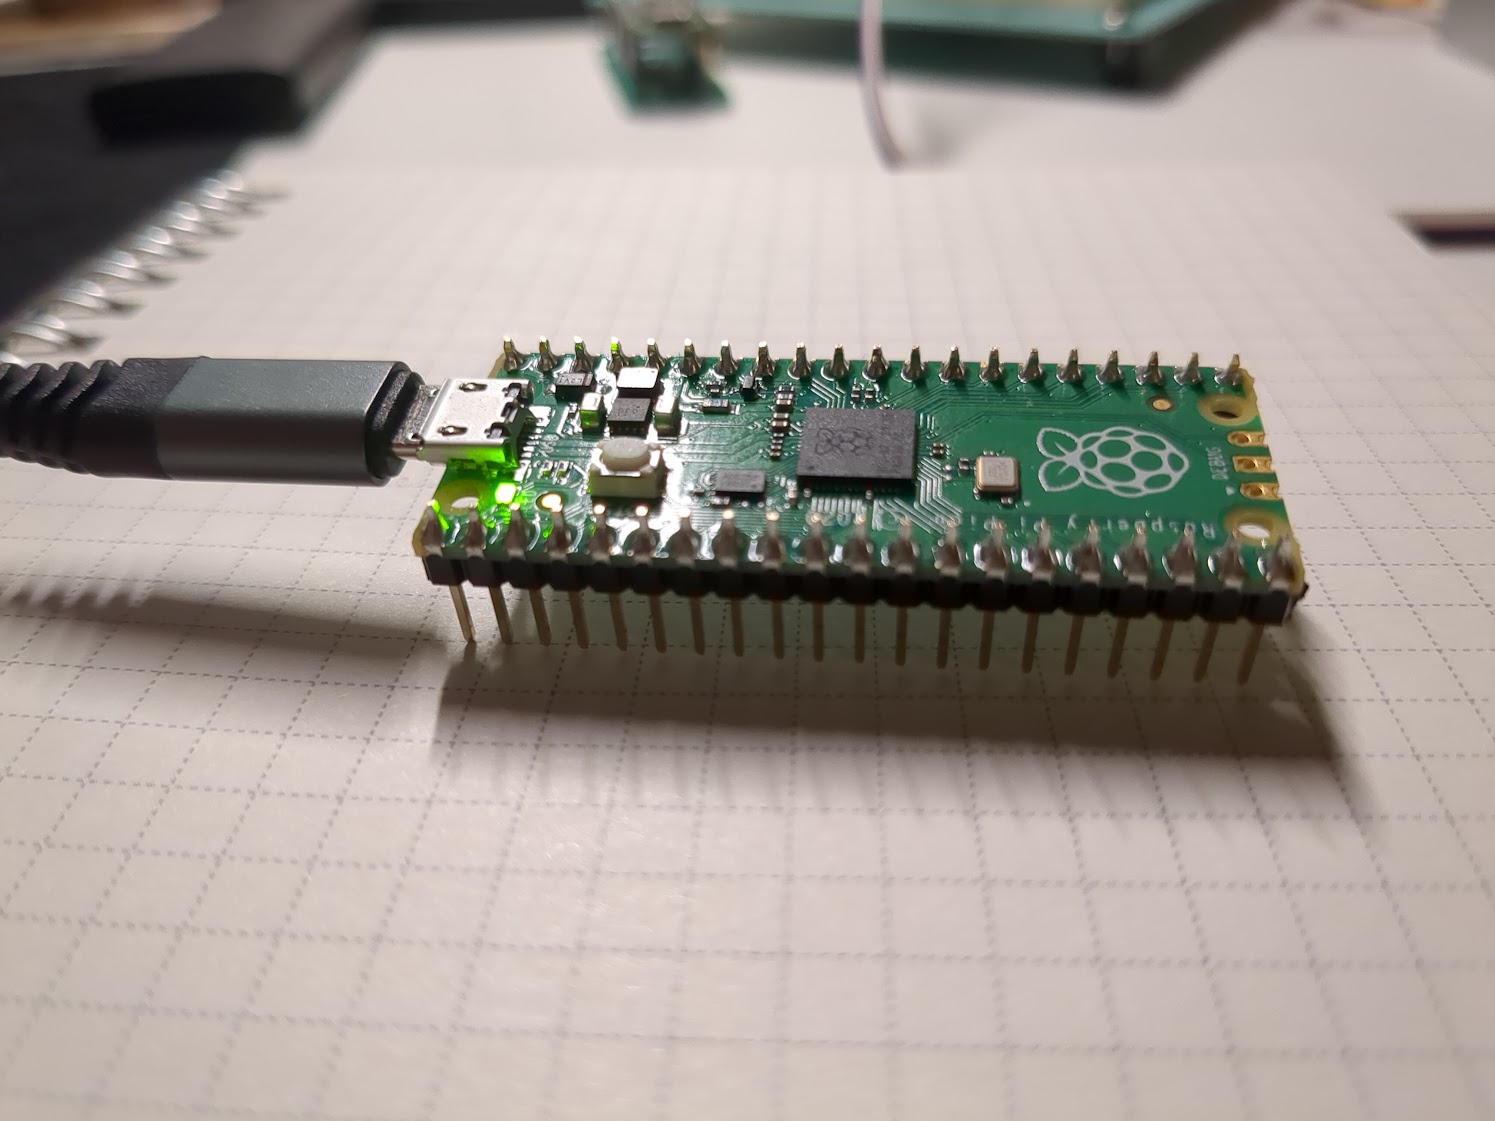
Alright! We got a bootloader, now let’s make a blinky program. Blinky is pretty easy because you just have to configure a few fields in the rp2040 in order to activate GPIO25 which is where the LED is tied to on raspberry pi pico boards.
typedef unsigned int uint32_t;

void put32(uint32_t address, uint32_t value);
void delay(uint32_t cycles);

// Blinky!
void main() {
    // Mux GPIO pads
    put32(0x40014000 + 0x0cc, 5);
    // Enable GPIO Output
    put32(0xd0000000 + 0x024, (1 << 25));

    // Blink!
    while(1) {
        // Turn on the GPIO
        put32(0xd0000000 + 0x014, (1 << 25));
        delay(1000000);
        // Turn off the GPIO
        put32(0xd0000000 + 0x018, (1 << 25));
        delay(1000000);
    }
}
Some functions were easier to write in assembly.
.global put32
put32:
    str r1,[r0]
    bx lr

.global delay
delay:
    sub r0,#1
    cmp r0,#0
    bne delay
    bx lr
Compilation
Now that we have a bootloader and a program, it’s time to combine them into a single uf2 file which can be copied to the pico.
To enter USB mass storage mode: hold down the reset button and then plug the cord into your pico. This will mount the device as though it were a thumb drive and you can then copy the uf2 file directly in. It will flash the contents and then reboot.
Here’s an example Makefile which demonstrates this process:
.PHONY: uf2
.PHONY: clean

ARM ?= arm-none-eabi
AS_ARGS = --warn --fatal-warnings -mcpu=cortex-m0
GCC_ARGS = -Wall -Werror -O2 -ffreestanding -mcpu=cortex-m0 -mthumb
LINK_ARGS = -nostdlib

all: clean bootrom.bin main.bin uf2
 @rm -f out/*.elf
 @rm -f out/*.o

clean:
 @mkdir -p out
 @rm -rf out/*.*

uf2:
 @uf2-util --bootrom out/bootrom.bin --progdata out/main.bin --output out/app.uf2

main.bin: src/main.c src/main.S
 $(ARM)-as $(AS_ARGS) src/main.S -o out/utils.o
 $(ARM)-gcc $(GCC_ARGS) -c src/main.c -o out/main.o
 $(ARM)-ld $(LINK_ARGS) -T src/linker.ld out/main.o out/utils.o -o out/main.elf
 @$(ARM)-objcopy -O binary out/main.elf out/main.bin
 @$(ARM)-objdump -D out/main.elf > out/main.asm

bootrom.bin: src/bootrom.c src/bootrom.S
 $(ARM)-as $(AS_ARGS) src/bootrom.S -o out/start.o
 $(ARM)-gcc $(GCC_ARGS) -c src/bootrom.c -o out/bootrom.o
 $(ARM)-ld $(LINK_ARGS) out/start.o out/bootrom.o -o out/bootrom.elf
 @$(ARM)-objcopy -O binary out/bootrom.elf out/bootrom.bin
 @$(ARM)-objdump -D out/bootrom.elf > out/bootrom.asm
This Makefile calls a lot of toolchain methods. Each method is as follows:
- arm-none-eabi-as will compile the assembly and target cortex-m0
- arm-none-eabi-gcc will compile the c and target cortex-m0
- arm-none-eabi-ld will link the object files and create an ELF file that contains the actual arm instructions.
- arm-none-eabi-objcopy converts the ELF file into a binary.
- arm-none-eabi-objdump is not strictly required, but it will generate the assembly that you can inspect afterwards.
- uf2-util is my own program and you can find the source code here https://github.com/SharpCoder/uf2-util
Nuances
The bootloader doesn’t need a linker! The emitted code seems to work as-is. I’m guessing the onboard bootrom does something when it copies the data from XIP to SRAM Bank 5 (don’t quote me on that) so the compilation flags are very forgiving here.
Ordering of the files is very important here. We need to make sure out/start.o is the first file that gets linked so our entrypoint method is at the top of the emitted binary since the bootloader will just start running the first command it sees.
And the linker file! It makes the assumption you’re flashing the program into 0x2000_0000 but is otherwise straightforward.
MEMORY
{
    sram : ORIGIN = 0x20000000, LENGTH = 0xFFF
}

SECTIONS
{
    .text : {
        *(.text*)
    } > sram
}
Conclusion
That’s it! You’ve got a second-stage bootloader which copies the third-stage program into SRAM and then executes it. Just drag and drop the generated app.uf2 file directly into the RPI-RP2 folder and you’ve got yourself a light. That blinks!
Here are some resources for further reading: